 Orcas Island
 Building New in Rosario Means Building for the Weather You'll Actually Get
Rosario sits on the water side of Orcas Island, and homes going up here face a different set of conditions than a build further inland. Salt-laden air moves off the water and settles on everything, driving rain comes in sideways during the fall and winter storm months, and a long damp season keeps moisture sitting against exterior surfaces far longer than most manufacturers' installation instructions assume. When windows go into a new structure here, the installation details matter more than the window itself. A good window installed with a shortcut flashing sequence will leak eventually. A mid-grade window installed correctly, with the right layers in the right order, will outlast it.
New-construction window work is a one-shot opportunity. Once the siding or trim goes on, the flashing details behind it are hidden for the life of the building. We treat every opening on a Rosario job the way we'd want it treated if it were our own house — because on this island, callbacks aren't a quick trip across town.
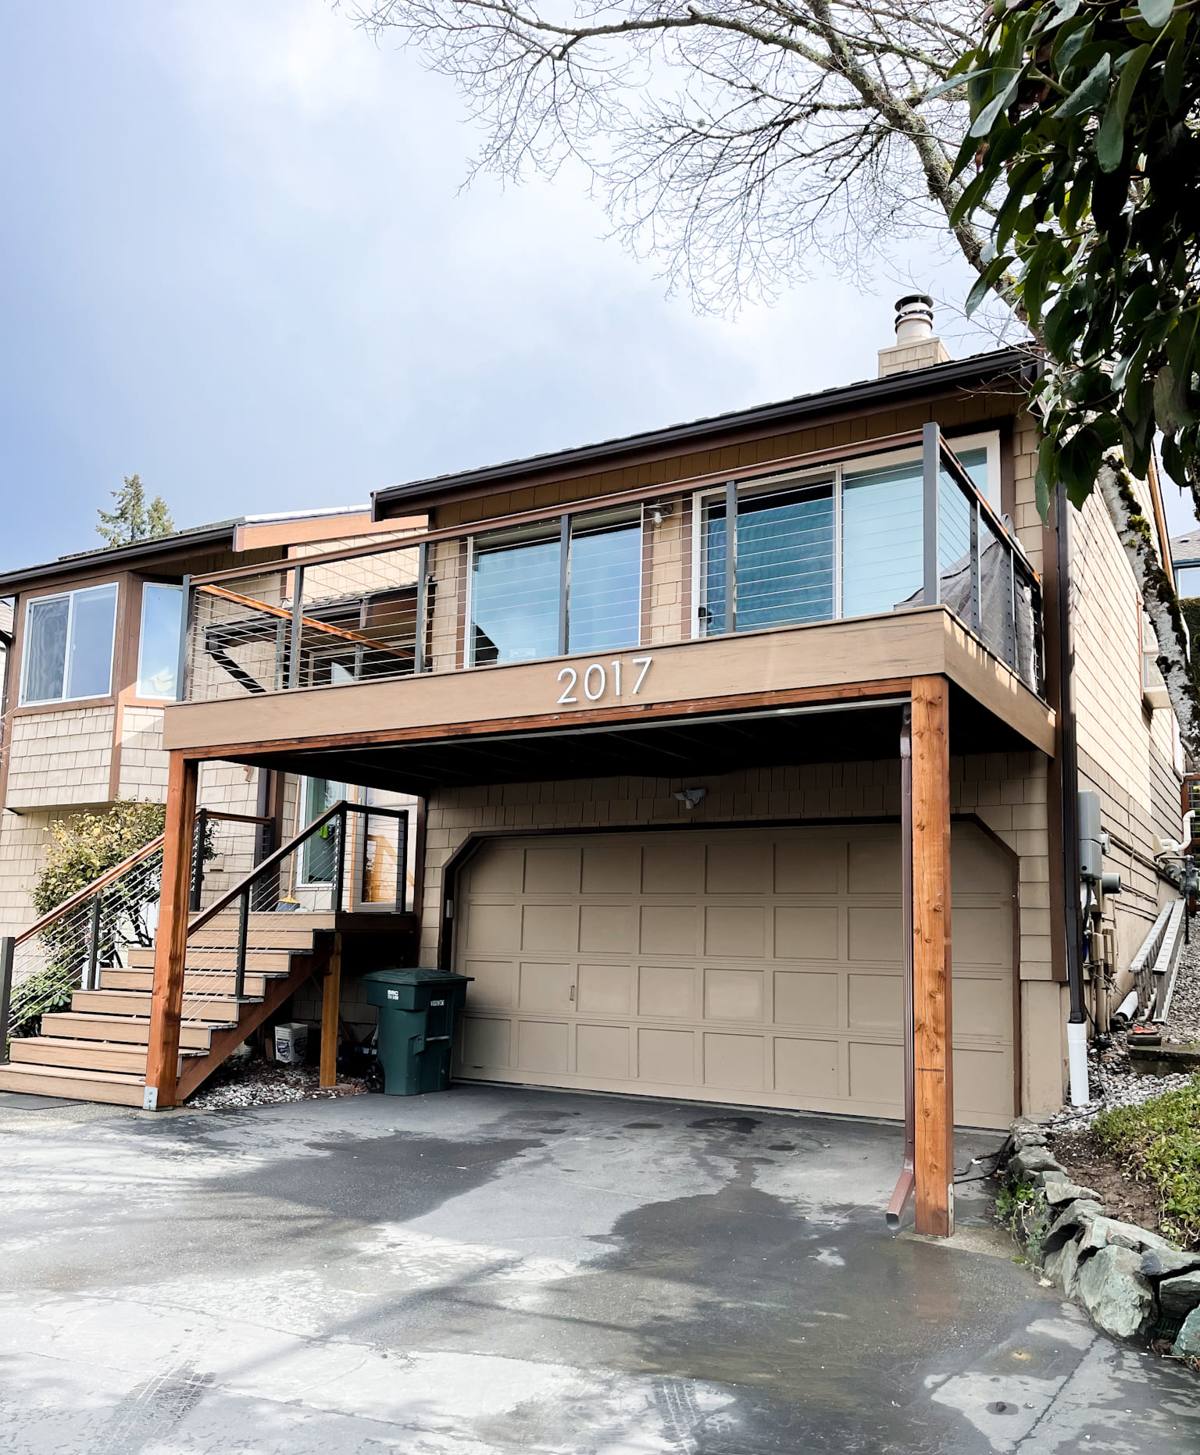
New-Construction Windows vs. Replacement Windows — Why the Distinction Matters
"New-construction" isn't a marketing term — it describes a specific installation method tied to a specific stage of the build. These windows have a nailing fin (sometimes called a nail fin or flange) around the perimeter of the frame, and they're installed before the exterior cladding goes on, integrated directly into the wall's weather-resistive barrier (WRB) and flashing system. Replacement windows, by contrast, are built to fit into an existing opening with the old cladding already in place, and they rely on different sealing methods because you can't access the sheathing and WRB layers without tearing into finished walls.
Trying to use replacement-style methods on a new build — or new-construction windows without the proper flashing sequence — is one of the most common sources of water intrusion we see in coastal Washington construction. Getting this distinction right at the framing stage is the entire job.
| Factor | New-Construction Installation | Replacement Installation |
|---|---|---|
| Access to sheathing/WRB | Full access, done before cladding | Limited, works around existing siding |
| Flashing method | Fin integrated with WRB and flashing tape in shingle-lap sequence | Perimeter sealant and trim-based sealing |
| Best suited for | New builds, additions, full wall reconstruction | Existing homes keeping current siding |
| Long-term moisture control | Depends entirely on installer sequencing, not the window itself | Depends on sealant maintenance over time |
What Rosario's Climate Actually Does to a Window Opening
Salt Air
Airborne salt accelerates corrosion on fasteners, hinges, and any exposed metal flashing that isn't rated for a marine environment. It also degrades certain sealants faster than their inland service life would suggest. We select fasteners and flashing components with this in mind rather than defaulting to whatever's standard on a mainland job.
Driving Rain
Wind-driven rain doesn't just fall on a window — it gets pushed sideways and upward under sills and around trim. A flat, gravity-only flashing detail that would be fine in a calm-weather climate isn't enough here. Every opening needs a sloped sill pan and a properly lapped sequence so water is directed out and down, never trapped behind the assembly.
Moss and Prolonged Dampness
San Juan County's long wet season keeps humidity high against north-facing and shaded walls for months at a time. Moss doesn't just grow on roofs — it takes hold in window trim details, sills, and anywhere organic debris and moisture can sit. That sustained dampness is what turns a minor flashing gap into rot years down the road, which is why we detail every opening as if it will stay wet for half the year — because on this side of the island, it will.
What a Correct Installation Actually Involves
A properly installed new-construction window on a Rosario build follows a specific order. Skipping or reversing any step is where problems start.
- Rough opening is checked for square, level, and correct dimensions before the window ever arrives on site.
- A sloped sill pan flashing is installed first, so any water that gets past the window has a path back out, not a place to collect.
- Self-adhered flashing tape is run up the jambs and across the head in the correct shingle-lap order — always overlapping so water sheds downward and outward, never into a seam.
- The window is set, shimmed level and plumb, and fastened through the nailing fin per the manufacturer's schedule.
- The fin is integrated into the WRB with flashing tape lapped correctly over the fin at the jambs and head, tucked under at the sill.
- Interior sealant and insulation are placed at the gap between frame and rough opening — sealed on the interior side, but never fully sealed on the exterior in a way that traps moisture inside the wall cavity.
- Exterior trim and cladding are installed last, over a completed and inspected flashing assembly.
Every one of these steps is inspectable before the wall closes up, which is exactly why we photograph flashing details as the work progresses — it's the one point in the process where the work behind the wall can still be verified.
Frame Materials That Hold Up on the Water Side of the Island
The window unit itself matters less than the installation, but material choice still affects long-term performance in a salt-air, high-moisture setting. Here's how the common options compare for a Rosario build:
| Frame Material | Salt Air / Moisture Behavior | Maintenance |
|---|---|---|
| Vinyl | Doesn't corrode; performs well in coastal air | Low — occasional cleaning |
| Fiberglass | Very stable, minimal expansion/contraction, good coastal track record | Low |
| Wood (unclad) | Attractive but needs consistent upkeep in a wet marine climate | High — repainting/sealing on a schedule |
| Wood/clad-exterior, wood interior | Good if cladding and flashing details are correct; exterior wood exposure is the risk point | Moderate |
| Aluminum (uninsulated) | Prone to condensation and thermal transfer in our climate | Low, but performance trade-off |
We'll talk through these trade-offs honestly based on the look you're after and the exposure of the specific wall — a covered porch opening and an unshielded water-facing wall don't need the same spec.
How We Work With Your Builder or GC
Most of our new-construction window jobs come in alongside a general contractor's framing crew, not as a standalone project. That coordination matters:
- We review rough openings against the window schedule before units are ordered, so nothing arrives the wrong size for a Rosario-built structure.
- We schedule installation for a dry weather window where possible — not always easy on Orcas Island in the wetter months, but we work around forecasts rather than pushing through a soaking rain.
- We install in the correct sequence relative to the WRB and siding trades, rather than being squeezed in after the fact.
- We document flashing details at each opening before they're covered, so there's a record of what's behind the wall.
- We stand behind our own installation work separately from the manufacturer's product warranty, so you know which party is responsible for what.
What Affects Cost on a New-Construction Job
| Factor | Why It Matters |
|---|---|
| Number and size of openings | Larger and more numerous units mean more flashing detail work, not just more glass |
| Frame material | Vinyl and fiberglass are generally more economical than clad-wood units |
| Wall exposure | Water-facing or wind-exposed walls may call for upgraded flashing components |
| Access and staging | Waterfront and hillside Rosario lots can add logistics time versus a flat, road-accessible site |
| Scheduling with other trades | Coordinating tightly with framing and siding crews keeps the job efficient; last-minute sequencing changes add time |
We give a written estimate broken down by opening, not a vague lump sum, so you can see exactly what's driving the number.
A Quick Checklist Before You Order Windows for a Rosario Build
- Confirm rough opening dimensions on-site, not just from plans — framing tolerances vary.
- Decide on frame material based on the wall's actual water and wind exposure, not just the house-wide standard.
- Ask your window installer how sill pan flashing and WRB integration will be handled — the answer should be specific, not "we seal it up."
- Plan installation timing around the wettest months if you have any scheduling flexibility.
- Request photo documentation of flashing details before siding covers them.
Why Local Experience on This Specific Stretch of Island Matters
Rosario isn't generic coastline — the wind exposure, the tree cover, the way rain moves across a given lot all vary from one part of Orcas Island to another, and even from one side of a Rosario property to the other. A crew that has framed and flashed openings in this specific area already knows which walls take the worst of the weather and which details need extra attention before the siding goes up. That's not something you get from a general installation manual — it's from having done the work here, in this climate, on this island, more than once.
If you're planning a new build or addition in Rosario and want window openings detailed correctly from the start, we're happy to walk the site, review your plans, and put together a straightforward, no-pressure estimate. There's a form below — reach out and we'll get back to you.