 Orcas Island
 Why Siding Ages Faster on Orcas Island
Orcas Island asks more of a home's exterior than most of the country ever will. You've got marine air pulling salt and moisture inland off the water, wind-driven rain that hits siding sideways instead of just falling straight down, and a wet season that stretches long enough for moss and algae to get a real foothold on north-facing walls and anything shaded by fir and cedar canopy. None of that is unusual for San Juan County — it's just the trade-off for living somewhere this beautiful. But it means siding here fails in a different order, and often faster, than siding on a dry-climate tract home in Spokane or Yakima.
The good news is that siding failure almost never happens overnight. It shows up first as small, easy-to-miss signals — a little bubbling paint, a faint musty smell in a closet on an exterior wall, a corner board that feels slightly soft when you press it. Catch those signals early and you're usually looking at a repair. Miss them for a couple of wet seasons and you're looking at rot that's worked its way into sheathing, framing, and insulation, which turns a siding job into a much bigger and more expensive project.
This page walks through what to actually look for, wall by wall, and what each sign usually means.
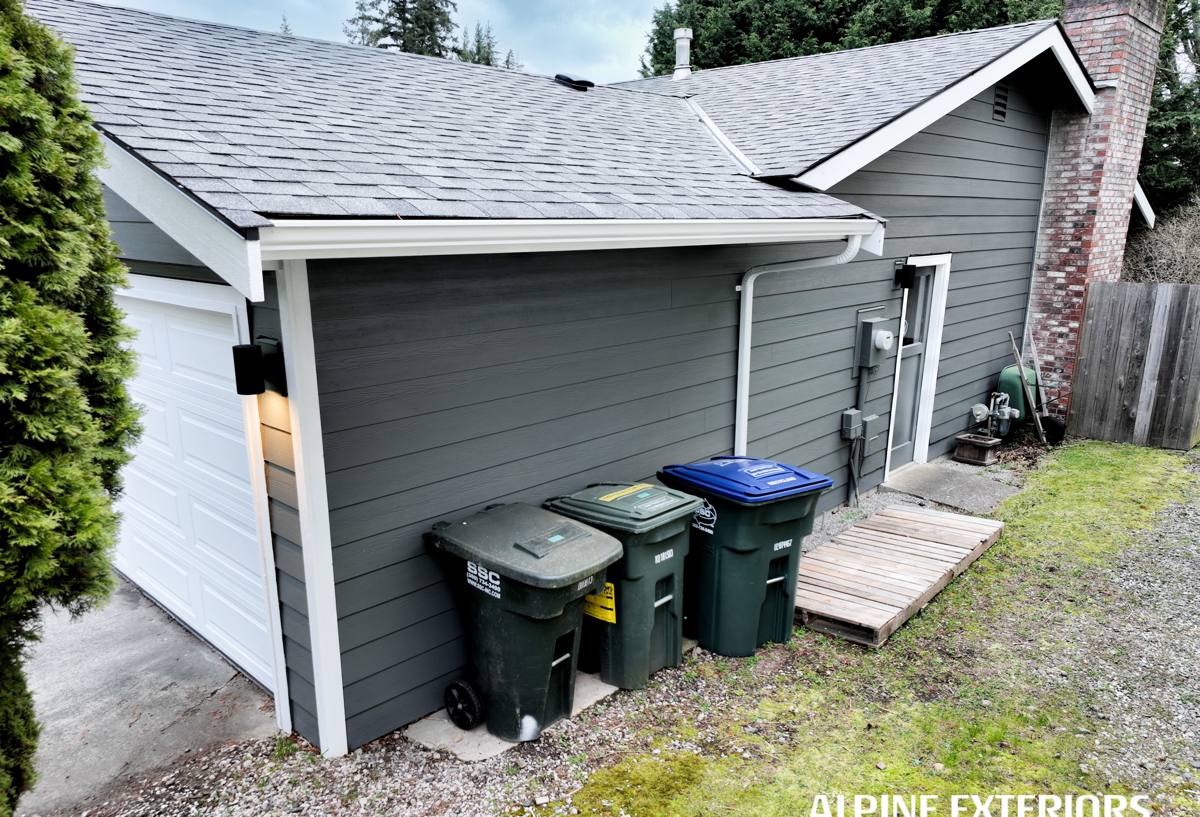
Soft, Spongy, or Crumbling Siding
This is the big one. If you press on a section of siding — especially near the bottom of a wall, around window sills, or below a downspout — and it gives like wet cardboard, that's moisture that's already broken down the material. This is most common with wood-based products (cedar, primed spruce, LP SmartSide) once the factory coating or paint film has been compromised and water gets behind it or wicks up from the bottom edge.
Where to check first
- Bottom few inches of siding closest to grade, decks, or roof-to-wall intersections
- Under window sills, especially on walls that catch the prevailing wind and rain
- Corner boards and any spot where two pieces of trim meet
- Anywhere a sprinkler or gutter overflow regularly wets the wall
If you find soft material, don't just repaint over it. Paint doesn't fix wet wood — it seals moisture in, which usually makes the rot progress faster and hides it from view until it's much worse.
Paint Failure: Bubbling, Peeling, and Chalking
Paint is doing real structural work on wood-based and fiber cement siding that isn't factory-finished — it's the primary barrier keeping water out of the substrate. When you see bubbling or peeling, that's usually moisture trying to escape from behind the paint film, which means water is already inside the material. Chalking (a powdery residue that rubs off on your hand) is different — that's UV and salt-air breakdown of the paint resin itself, and on Orcas Island's south and west-facing walls it happens noticeably faster than it would inland.
Field-applied paint on siding here typically needs real attention — not just a fresh coat, but scraping, priming, and repainting — every 5 to 8 years to keep ahead of the marine climate. Skip a cycle and you're not just looking at cosmetics; you're looking at the paint's protective function failing while the siding underneath keeps absorbing moisture.
Staining, Streaking, and Moss or Algae Growth
Black or green streaking, especially running down from seams, nail heads, or trim joints, is often a sign that water is finding a path through the siding system rather than shedding off the surface the way it should. Moss and algae growth on north walls or shaded elevations is extremely common on Orcas Island and isn't automatically a red flag on its own — but moss holds moisture against the siding surface for days after a rain, which accelerates rot underneath it and traps salt-laden moisture against paint and caulk joints.
A wall that stays green and damp through most of the wet season is a wall that's aging faster than its sunnier neighbors, even if nothing looks obviously broken yet.
What different stain patterns usually tell you
- Streaking below nail heads: corroding fasteners or a failing top coat at fastener penetrations
- Staining at horizontal seams: water intrusion at lap joints, often from missing or failed caulk
- Dark stains at the base of a wall: splash-back from grade, or water pooling due to poor drainage
- Uniform green film, no staining pattern: algae/moss from shade and moisture, less urgent but worth monitoring
Warping, Buckling, and Gaps
Boards that have started to cup, bow, or pull away from the wall are telling you the material has absorbed moisture unevenly and is moving as it dries and re-wets — a cycle that gets worse every season it continues. Watch for:
- Boards that no longer sit flat against the wall, especially at the ends
- Visible gaps opening up between boards or at butt joints that weren't there before
- Siding that looks wavy or uneven from an angle, even if it looks fine straight-on
- Nail heads that have started to pop or back out as the board moves
This kind of movement is a known weak point for engineered wood products in wet, coastal climates, which is part of why our crews standardized on James Hardie fiber cement rather than wood-based siding for island installs — fiber cement doesn't swell and shrink with moisture the way wood fiber products do.
Cracking at Joints and Corners
Butt joints (where two horizontal pieces of siding meet end-to-end) and corner boards are the highest-stress points on any siding system, and they're usually the first place cracking shows up. Small hairline cracks let water directly into the wall assembly, and on a house that takes driving rain off the water, that's a fast track to sheathing damage. Cracking that follows a straight, clean line across a board is often installation-related — a butt joint that wasn't properly flashed or backed. Cracking that's jagged and spreading from a fastener is more often a sign of material fatigue.
Comparing Warning Signs by Urgency
| Warning Sign | Likely Cause | Urgency |
|---|---|---|
| Soft or spongy siding | Active rot, moisture already inside material | High — address immediately |
| Bubbling or peeling paint | Moisture trapped behind failing paint film | Moderate-High — inspect and repaint or repair soon |
| Cracking at joints/corners | Installation gap, flashing failure, or material fatigue | High — direct water entry point |
| Warping or gapping boards | Repeated moisture absorption cycles | Moderate — monitor and plan repair |
| Chalking paint surface | UV and salt-air breakdown of paint resin | Low-Moderate — plan repaint cycle |
| Moss/algae on shaded walls | Persistent moisture from shade and low sun exposure | Low — clean and monitor, address if staining develops |
| Streaking below fasteners | Corroding nails or screws | Moderate — often fixable before it spreads |
Clues You'll Find Inside, Not Outside
Some of the most useful warning signs don't show up on the siding at all — they show up in the house. A musty smell in a closet or room on an exterior wall, especially one that gets worse in damp weather, often means moisture has been working its way through the wall assembly for a while. Bubbling or discolored drywall or trim near an exterior wall, a slightly soft spot in flooring near an exterior wall, or unexplained higher humidity in one room of the house are all worth walking the exterior wall outside and checking closely.
Attics and crawlspaces are worth a look too. Discoloration on the underside of roof sheathing near a wall line, or a damp, musty crawlspace under an exterior wall, can both trace back to siding that's letting water in higher up the wall.
A Simple Annual Check Homeowners Can Do
You don't need to climb a ladder or do anything risky to catch most of this early. A slow walk around the house once a year — ideally right after the wettest stretch of winter, when problems are most visible — covers most of it:
- Press on siding near the ground, under windows, and below rooflines — check for softness
- Look for paint bubbling, peeling, or heavy chalking, especially on south and west walls
- Check butt joints and corner boards for cracking or gaps
- Note any walls that stay wet or mossy long after the rest of the house has dried
- Check gutters and downspouts are directing water away from the wall, not onto it
- Walk the inside perimeter for musty smells or discoloration on exterior walls
- Photograph anything questionable and check it again in 3-6 months to see if it's progressing
What This Means When It's Time to Replace
Catching these signs early buys you options — sometimes a repair, a repaint, or better drainage detailing is all that's needed. But once rot has reached the sheathing, or a material has consistently shown these warning signs across multiple walls, patching stops being a real fix and it's worth thinking seriously about what goes back up.
This is exactly why we install James Hardie fiber cement exclusively rather than wood-based or vinyl products. Hardie's HZ5 product line is engineered specifically for climates like this one — moisture, freeze-thaw cycling, and salt air — and the ColorPlus factory finish means you're not relying on field-applied paint to hold the line against Orcas Island's wet season year after year. It won't stop every one of these warning signs from ever appearing (no siding is maintenance-free), but it removes the specific failure modes — moisture-driven swelling, rot from water absorption, and rapid paint breakdown — that show up most often on the wood-based and vinyl siding we see failing early around the island.
Get a Second Opinion Before It Gets Expensive
If you've spotted one or two of these signs on your home, or you're just not sure what you're looking at, it's worth having someone take a closer look before the next wet season. We offer free, no-pressure estimates and inspections for homeowners across Orcas Island and the rest of San Juan County — no obligation, just an honest read on what's going on with your siding and what your options are.