 Orcas Island
 Window Installation Built for the Cascade Lake Area
Homes around Cascade Lake sit in one of the more demanding microclimates on Orcas Island. The lake basin holds moisture longer than open, wind-swept parts of the island, and the heavy fir and cedar canopy that rings the water blocks sun from reaching siding and window walls for much of the day. Add in San Juan County's long, wet winters and the salt-laden air that moves across the island from the surrounding straits, and you get a combination that is hard on window frames, sealants, and flashing if the original installation wasn't done right.
We install and replace windows for homeowners in this area regularly, and the failures we see are rarely about the window itself. They're almost always about water management — flashing that was skipped or installed backwards, sealant that was never meant to hold up under constant damp shade, or a rough opening that wasn't properly prepped before the new unit went in. Good window installation here isn't complicated, but it is unforgiving of shortcuts.
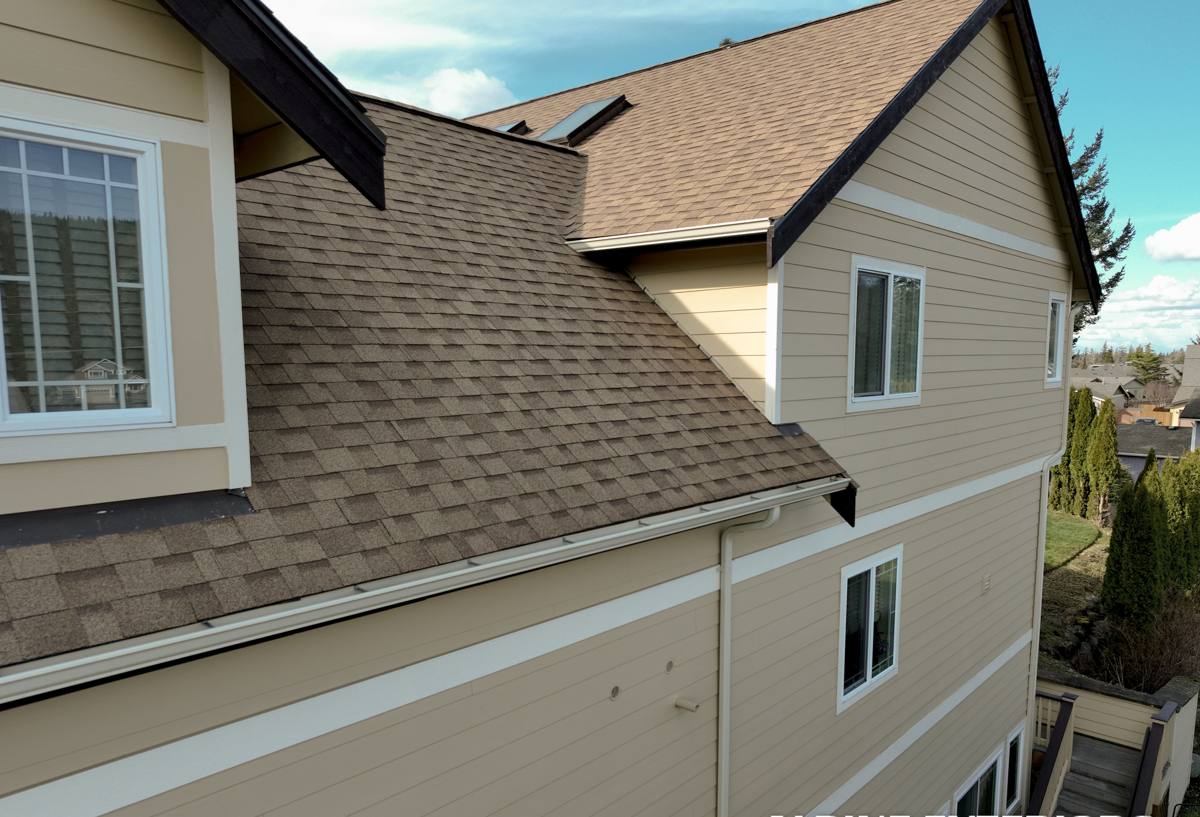
What the Cascade Lake Microclimate Does to Windows
Shade and slow drying
Tree cover around the lake keeps siding and trim damp far longer after a storm than a home on open, sun-exposed ground. Wood trim stays wet, paint and caulk break down faster, and moss gets a foothold on north-facing walls and sills within a season or two if surfaces aren't kept clear.
Driving rain and wind-driven moisture
Orcas Island storms don't just fall straight down — wind pushes rain sideways into window walls, especially on exposed gable ends. Any gap in flashing or sealant becomes an entry point, and because the surrounding wood stays damp so long, a small leak can sit unnoticed and do real damage before it shows up as a stain on an interior wall.
Salt air and general island humidity
Even set back from the shoreline, Cascade Lake homes still sit within San Juan County's marine air pattern. That means metal hardware, screws, and lower-grade flashing corrode faster than they would inland on the mainland, which is why we're particular about the fasteners and flashing materials we use on every install.
Signs Your Windows Are Due for Replacement
- Fogging or a persistent haze between panes on double- or triple-glazed units — a sign the seal has failed
- Wood sills or jambs that feel soft, spongy, or show dark staining when pressed
- Visible gaps between the window frame and siding or trim
- Difficulty opening, closing, or locking a window that used to operate smoothly
- Noticeable drafts near the frame on a windy day
- Moss or black mildew staining concentrated around the window's lower corners
- Paint that's peeling or bubbling specifically around the window opening, not the wider wall
- A cold window sash even when the glass itself isn't touched — often a sign the frame has lost its thermal break
Any one of these on its own might just need caulking or minor repair. Two or three together, especially with soft wood at the sill, usually means the window and possibly the framing around it needs to come out.
What a Correct Installation Actually Involves
A window installation is only as good as the parts nobody sees once it's done. For a Cascade Lake home, we treat these steps as non-negotiable:
- Opening inspection. Before anything new goes in, we check the rough opening and surrounding framing for rot or moisture damage — common in shaded, slow-drying walls — and repair it before the new window goes in, not after.
- Proper flashing sequence. Sill pan flashing first, then window, then side and head flashing layered so water is always directed outward and down, never trapped behind the siding.
- Weather-resistant barrier integration. The window's flashing has to tie into the house wrap or building paper correctly — lapped the right direction — so the whole wall drains as one system instead of fighting itself.
- Backer rod and sealant, not sealant alone. Gaps too wide for sealant to bridge properly get backer rod first, so the caulk performs the way it's rated to instead of stretching and failing early.
- Shimming and squaring. A window that's out of square binds, leaks at the corners, and wears its hardware out faster — this is one of the most common corner-cut we find on older replacements.
- Interior and exterior trim finished to shed water. Trim gets sloped and sealed so it moves water away from the frame, not into it.
Choosing the Right Window for a Shaded, Wet Site
There's no single "best" window material — the right choice depends on how much sun and moisture a particular wall of the house actually sees, and how much upkeep you want to take on.
| Material | Typical Cost Range | Moisture Performance | Maintenance |
|---|---|---|---|
| Vinyl | Lower | Good — won't rot, handles damp shade well | Low — occasional cleaning |
| Fiberglass | Mid to upper | Very good — stable in temperature and moisture swings | Low |
| Aluminum-clad wood | Upper | Good exterior protection, but any breach in the cladding lets moisture into the wood core | Moderate — watch seams and corners |
| Solid wood | Upper, varies by species | Weakest in constant shade and damp — needs consistent upkeep to avoid rot | High — repainting/sealing on a schedule |
For homes tucked under heavy tree cover near the lake, we generally steer clients away from unclad solid wood on north- and west-facing walls unless they're committed to a real maintenance schedule — the wood simply doesn't get enough sun to dry out between rains. Vinyl and fiberglass hold up with far less attention, and clad-wood units work fine as long as the cladding and flashing details are done right at every joint.
Our Installation Process
We keep the process straightforward and try to minimize how long your home's envelope is open to the weather:
- On-site assessment — we look at each window individually, not just the house as a whole, since sun and moisture exposure can vary a lot from one wall to the next around a wooded lot
- Measurement and ordering — exact sizing for the openings, with material and glazing recommendations based on that window's exposure
- Removal and opening prep — old window comes out, framing is inspected and repaired if needed before anything new goes in
- Installation — flashing, window, sealant, and trim installed in the sequence described above
- Weather check — we don't leave an opening exposed overnight if there's rain in the forecast; work is sequenced around Orcas Island weather, not around convenience
- Final walkthrough — every window operates, locks, and seals the way it should before we call the job done
What Affects the Cost of a Window Installation Here
Every home is different, but a few factors consistently move the price on Cascade Lake jobs more than they would on a straightforward open-lot install:
| Factor | Why It Matters Here |
|---|---|
| Hidden rot at the opening | Shaded, slow-drying walls have a higher chance of framing damage found once the old window is out |
| Access and site conditions | Wooded lots, slopes, and second-story lake-view windows can require more setup and staging time |
| Window count and size | Larger or custom-sized units cost more and take longer to source |
| Material choice | Vinyl is generally the most budget-friendly; clad wood and larger fiberglass units run higher |
| Trim and siding tie-in | Matching or repairing existing trim and siding around the new opening adds labor |
We give a firm, itemized number after the on-site assessment — we don't quote sight unseen, because on a shaded lot the difference between a straightforward swap and a job that includes rot repair is significant, and we'd rather you know that up front than get a surprise mid-project.
Why Hire a Crew That Already Works Cascade Lake
Window installation done wrong doesn't usually fail in month one — it fails in year three or four, after a few wet winters have worked their way past bad flashing or thin sealant. By then it's a repair job, not a maintenance item, and often means opening up siding and repairing framing that shouldn't have needed it. Crews who don't regularly work the wooded, damp lots around the lake sometimes install to a generic standard that's fine on a sunny, open site but leaves too much margin for error here.
We're on Orcas Island full time, and we've replaced enough failed installs in this exact area to know where the weak points usually are — the sill flashing, the corners where trim meets siding, and openings on the shaded side of the house that never get a chance to dry out. Building to San Juan County's climate isn't an upgrade we charge extra for — it's just how we do the job.
If you're dealing with drafty, foggy, or hard-to-operate windows, or you're planning ahead for a remodel, we're happy to come take a look. Reach out for a free, no-pressure estimate — the form below gets you started.